Friday, June 5, 2009

A Black Lacquer Custom Stratocaster, Unique, Supremely Playable, Rich Sound


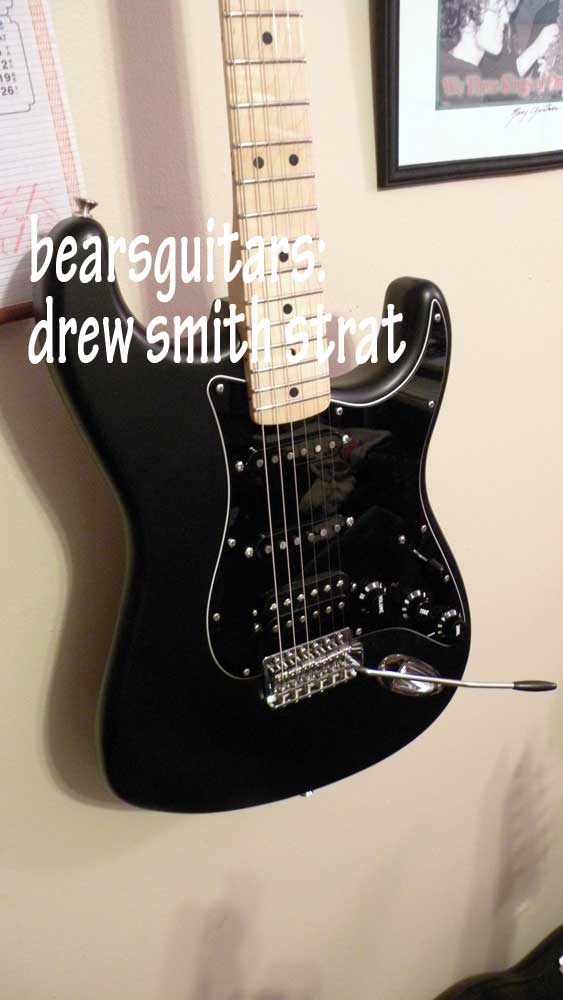
I had recent occasion to make a customized Strat for a local musician. The goal was to provide a black Strat with lots of tonal flexibility, REAL playability, unique visual and sound (but familiar, too).

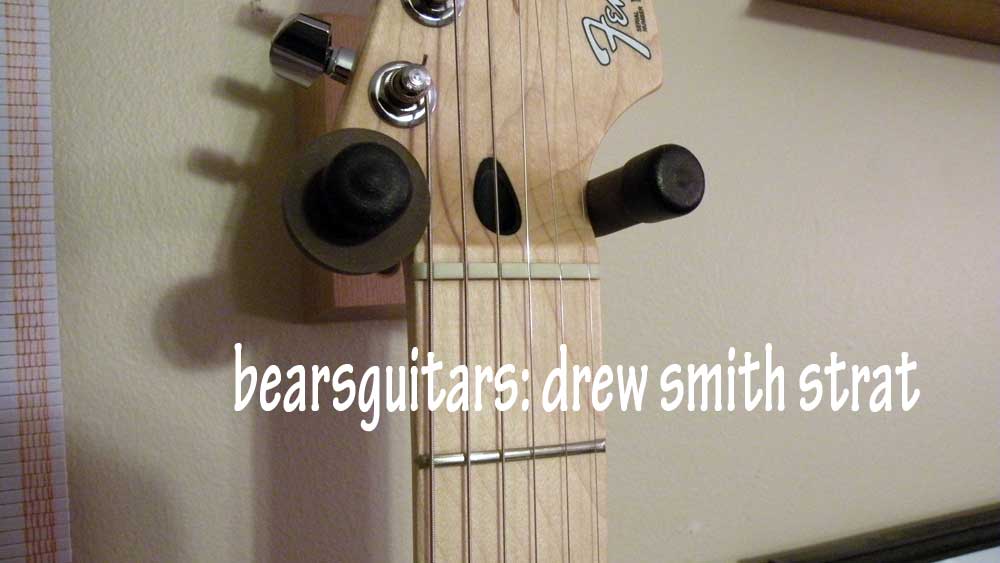
I began with a Fender FSR Straight Six Stratocaster: black nitrocellulose lacquer, a great maple neck with medium-jumbo frets, a good pickup route, and reasonable cost.

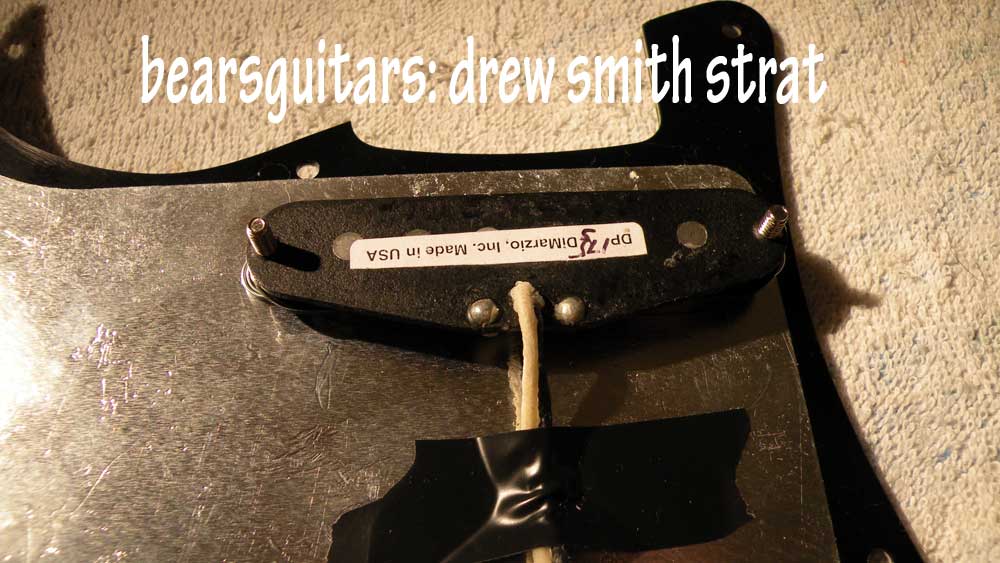
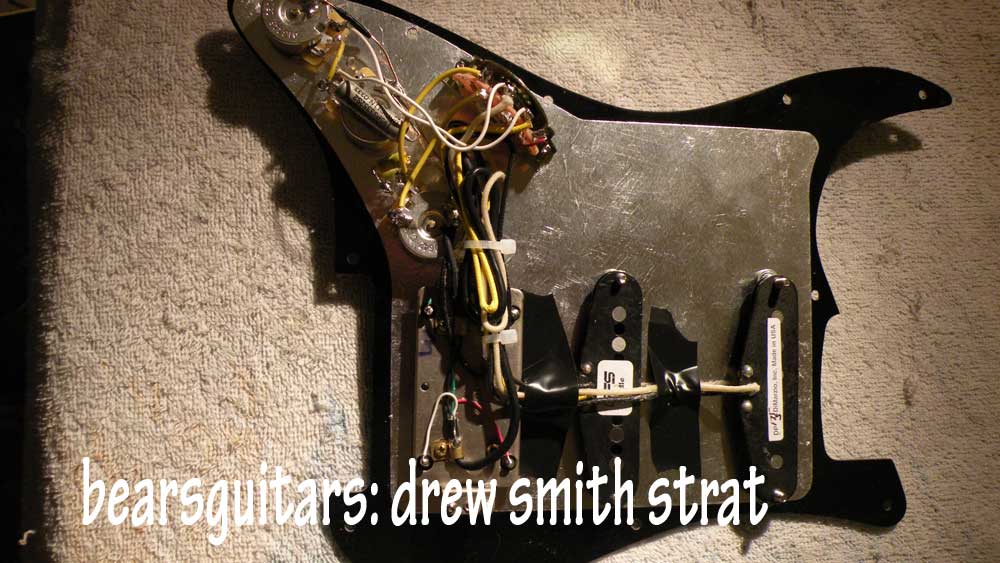
I searched extensively for the right pickguard, the right electronics, the right pickups, and the right wiring sequence for this instrument. After receiving a custom-made pickguard (wasn't pleased with it), I ended up buying a genuine Fender HSS B/W/B pickguard. I used the Straight Six's Fender Atomic humbucker on the bridge. After trial and error, I ended up using a GFS AlNiCo magnet middle pickup, with connections reversed (not reverse wound). I originally planned on a NICE USA SCN Fender pickup, but it sounded out of place (great! but not right with the other players - I wanted some vintage mixed with hotness, mixed with some new sound not heard on every other Strat out there). I ended up using a wonderful, sweet DiMarzio True Velvet pickup in the neck (I love those. I'll use one again in my next Strat creation, but maybe in the middle to give it some SWEET crunch and munch.)


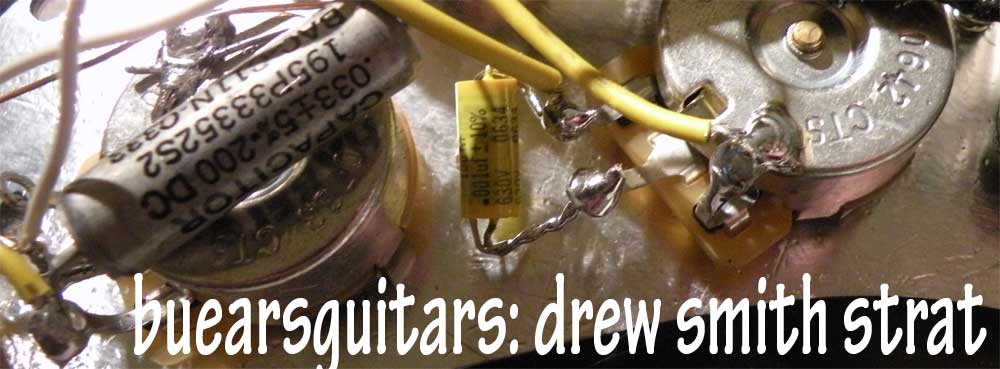
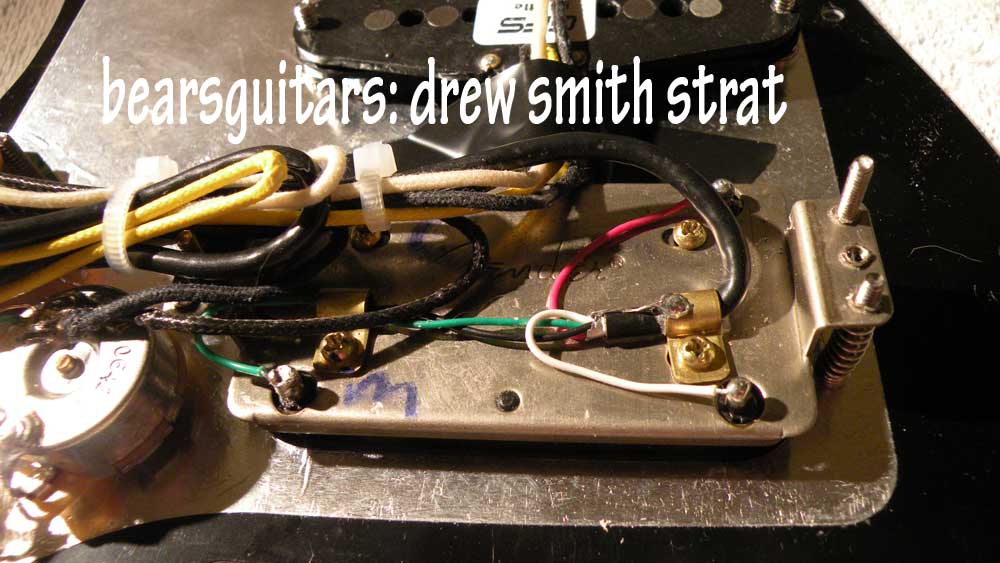
I used an unusual Sprague USA .0333uf capacitor on the central tone. I also decided to do a variant on the greasebucket and treble bleed mod thing with a nice resistor and a .001uf Mallory Mustard cap - twisted tight and soldered directly to the in and out leads on the volume pot. I did a common open copper ground, used silver-bearing solder, genuine Fender potentiometers, a genuine Fender (looks like a CRL?) 5-way blade switch.

So, we get:
Neck
Neck and Middle humbucking
Middle
Middle and split coil of Atomic Humbucker
Full Atomic Humbucker

I used shielded wiring for the signal lead from the Switchcraft USA jack, and good old American copper wiring. I tied everything off just right so that the pickguard literally drops in the Strat's cavity with NO wiggling or fiddling. Just wire in the Jack, the ground, and drop it on.

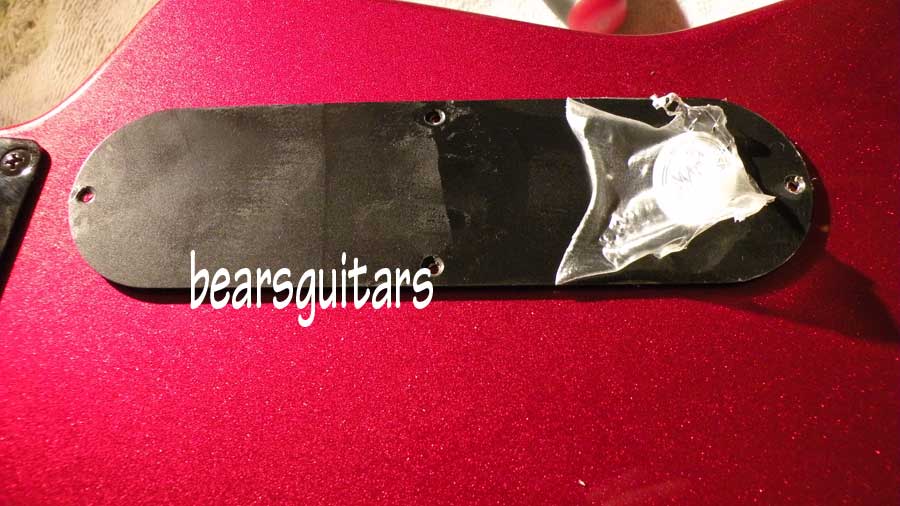
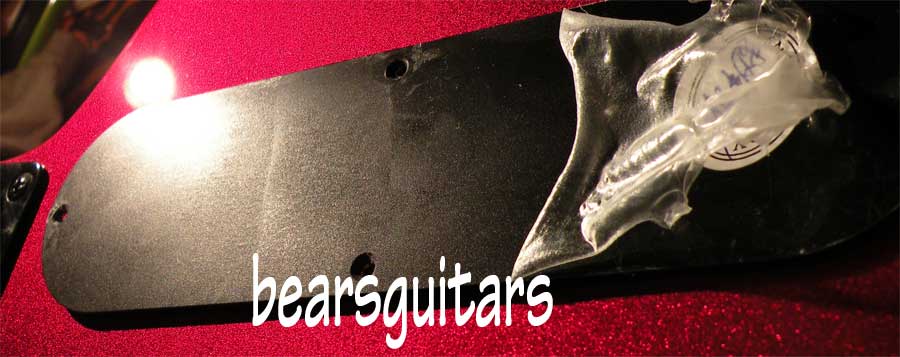
I used genuine Fender aged (sort of cream parchment) parts for the back plate, the knobs, switch tip, and pickup covers for the singles. I even used real Fender nickel screws everywhere.

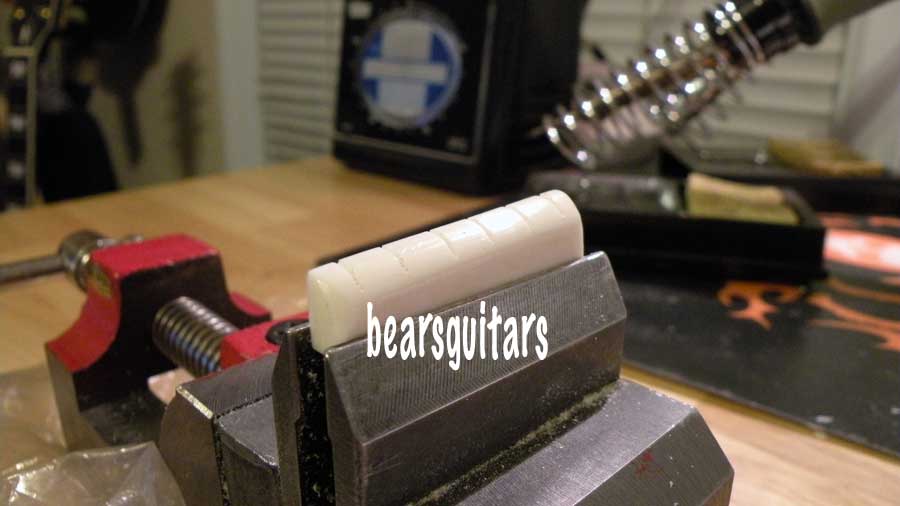
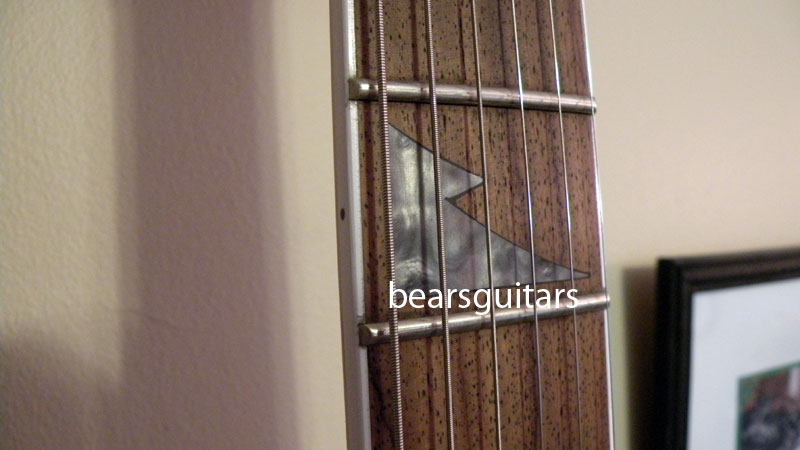
As a bit of a signature, I put a Fender "F" neck plate on the neck/body screw joint along with some nice Fender neck screws. I leveled, crowned, dressed and hand polished the frets and even softened the edge of the fretboard wood to feel smooth to the hand. Spent a good amount of time taking a Fender nut and making it just right for this guitar. Loaded it up with Fender .009-.042 strings, set the intonation and action... and the sound has been screaming joy ever since.

Labels: , , , , , , , , , , , ,

Sunday, May 17, 2009

Telecaster Modification - Gotta Love a Blondie

Recent work on a second incarnation of the Blonde Bombshell... The first two modded Telecasters (the first was blonde and maple, the second antique white and maple) sold right away, so I thought I'd do another.

The second incarnation ("Marilyn Monroe") is a beauty with a ceramic GFS crunchy mini humbucker on the neck position, a nice hot Don Lace Sensor Red Strat pickup in the center, and a nice simple vintage-style MIM Fender reissue Tele bridge in the bridge position.

This particular guitar started life as a MIC Squier Affinity Special Edition Telecaster... but it came out the other side of my custom bench - not quite the same thing...

This particular guitar has a custom bone nut, a mint green custom pickguard, hand chiseled cavity, and a 5-way switch:
Bridge/Bridge-Middle/Middle/Middle-Split of Neck HB/Neck HB

I used the Seymour Duncan wiring method for this, just in the reverse of an HSS Strat-style wiring diagram with the use of a nice USA Fender 5-way blade switch. I used a decent Sprague Orange Drop tone capacitor and opted for Alpha full-sized potentiometers on this particular guitar.

It plays like a dream. I crowned, dressed, and end-filed the frets by hand, polished them up, and leveled them to be smooth as glass. Very nice playability, and one-of-a-kind sound with versatility. You can get the basic Tele bridge sound of old, plus a little bit of a Strat-like sound, and that down-and-dirty Gibson-like sound on the neck. The other two positions give new sounds unique to this instrument: and they're both great on clean, jazzy, overdriven, or even distorted.

Here are some drooly pictures for my mod fans:


Labels: , , , , , , , , , ,

Wednesday, April 29, 2009

Plastic film on Guitar and Bass parts: Leave it on?


I've seen this entry's question hundreds of times, and have been asked about it many times: "Should I leave the protective plastic on my guitar/bass pickguard, back plates, and covers?"

Let's look at both sides of the answer, then I'll share my own answers...

On the "yes" side
• It looks nice when the protective film is on the pickguard/part. Especially if someone has been shredding heavily on the guitar... that way I know that when I take the film off, the plastic will look nice and new...
• If the pickguard really is new (not "It's new, I swear on my old dog Yeller's grave!" new..) I want to sell it as new and give the customer the fun and joy of "that new pickguard look" when they pull the film
• It's there for a reason: to protect the pickguard/part while it is in shipment, and possibly while it is in the guitar/bass store - folks kind of expect not to have a scratched pickguard when they buy a new instrument.
• I like the information stickers, like "Made in the USA!" and "Pull the tone knob for more sounds!" or "Inspected by Fred!".


On the "no" side
• If you leave the film on long-term, it leaves a hard-to-remove residue on the part.
• In some instances, the cheaper PVC-based films will actually eat into the plastic and leave etching in the part... not pretty, and very hard to remove...
• Some folks think that if they play a guitar for a year with the film covers on, they can sell it as "new."
• Enjoy your guitar/bass! Just enjoy it and don't worry about pickguard scratches. That's why the old-timers call them "scratch plates."

My Opinion
I have spent hours trying to remove the residue and etching from three-year-old plastic sticky film. There have been instances where the part/pickguard can't have the film removed at all - it is fused to the part...

If I have a brand new pickguard or part in a factory-closed bag, or if I have a pickguard or part that has just recently been pulled from a new instrument, I will leave the plastic/pvc protective cover on before I sell an item.

If the part is not new, or is not in its original packaging, I remove the plastic film. If the item is from an inexpensive guitar, I definitely take off the film. I don't want to leave someone else with the task of scrubbing the part or potentially having permanent etching in the part.

Labels: , , , , , , , , , , ,

Saturday, April 11, 2009

Spring is here, and so are the new bone nuts

Working on a Stagg SG copy for a local fellow... The nut was backwards (we're converting from a lefty to a righty) for its new use.

This particular nut slot and height is not the usual thing, so using a pre-shaped blank didn't work... none of the ones I had from StewMac or GuitarPartsResource or others would work in one way or another...

So, what does one do? One starts with an oversize blank and cuts it down to the right size. Next, shape, slot, and polish.

Voila.

Here's our nut as it started out:


Here's our nut shaped and slotted, but before cleanup:


Labels: , , , , , ,

Thursday, March 5, 2009

Not a mod post. Just a couple of interesting pictures...

There's a lot to like about Ibanez guitars. Sometimes the little details are pretty neat.

For example:

Black pearl double-sharktooth inlays on a rosewood fretboard... Nice.

Here we are in the low registers of the neck:


Here we are at the 12th fret...

Labels: , , , , , , ,

Saturday, February 21, 2009

EMG HZ Humbucker Pickups and Splitting - A Natural Fit

I'm a curious sort of Bear. I like to see how stuff ticks - how does it work, and how can I make it do something interesting? Multi-wire humbucking or multi-coil pickups just beg to be split or tapped in some way. Why not have a few new sounds in your guitar? Usually, the cost is only a couple of dollars more than "standard" components (for the push-pull pots, the 5-way super switch, or the little mini switch(es)).


I've been working with lots of customizations using G&B Black-face pickups, and especially USA-made EMG HZ pickups. I've tinkered with early OEM-supplied HZs, all the way to HZ4 and HZ4A pickups. These pickups are really very easy to split! They come wired for weather, and the QuickConnect wiring harness used on these pickups makes it easy to drop them into a split-sound guitar. Bear in mind that EMG active pickups do not have the same wiring scheme and are usually not specifically splittable. The epoxy encasement generally prevents messing with the humbucker pickup's internal preamp and the wiring around the blades and windings.


From the factory, the QuickConnect harness already has the North Start wire (hot) singled out, the North End and South Start are already connected together and tinned (although they are usually folded back and shrink-tubed to the wire bundle), The South End and the Bare Ground are usually together, although I've seen some Polish-made harnesses that have the bare and South End as separate wires. Here's a picture depicting the way EMG HZ wire color coding works:


There are lots of good places to look up wiring diagrams on the 'net. Two of my favorites are the guitarelectronics.com website diagrams page, and the seymourduncan.com website diagrams page. The GuitarElectronics.com website does have color diagrams for many different types and brands of pickups... before you get stumped, look there. I also like the Seymour site because the diagrams are well-drawn and flawlessly implemented. Not all wiring diagrams are created equal. The same wiring concept can be done in different ways, even with the same components.


Here are a few close-ups of some of the EMG HZ pickups with which I've been working this week. Some are older OEM (installed as original equipment on guitars like ESPs, Jacksons, and others) and some are the retail-boxed variety you can purchase at most musical instrument sales sites.


I've taken some nice close-up pictures of a few different varieties of EMG HZ pickups - the good news is that the wiring scheme is the same among all of them.


An EMG HZ FH2, installed in one of my recent projects - a nice ESP EC-100QM


The typical appearance of an EMG HZ (either H4 or H4, as well as some other interesting OEM variants)


A nice-sounding EMG HZ H3 on the back side: note the black shiny epoxy-filled cavity...


A typical, early-style EMG HZ OEM pickup on the backside... I like the PCB notes on plus and minus and such... Clear epoxy on this one.


Here's a nice OEM EMG HZ pickup from the back, with the quick-connect installed. I LIKE the quick-connect on EMGs (and on Seymour Duncan's Blackouts (I love those Seymours!). I have gotten a guitar all put together, wired up, strung up, and decided to change the pickup after things are all put together. It takes only a few minutes and you can completely change the sound of your guitar without having to change ANY wiring!

Labels: , , , , , , , , , , , , ,

Thursday, February 12, 2009

Broken Pot Metal Floyd Rose Bridge Saddles and What They Look Like

I thought I'd share a little something with my readers... a first-hand view of what pot-metal bridge saddles can do - particularly on a Floyd Rose Bridge.

This is one of those things where the bridge seems fine for a while - then, when you're changing strings and locking down the string tips in the bridge, you hear unusual cracking noises. Using the hex/allen wrench to tighten down the lock blocks usually makes little popping noises as the wrench tightens down. But... it really shouldn't crack like the sound of breaking wood.

Here is a classic case of the difference between a high-quality bridge and a cheap bridge. Steel saddles (or at least, real, forged metal such as brass, steel, or even aluminum) are hugely better than their cheaper pot-metal cousins. Why?

Because, they break. A replacement Floyd Rose Bridge (licensed or original) saddle is usually somewhere between $7 and $10. Think: if you had to replace all six (or seven or eight), you'd spend more than the cost of a new, cheap Floyd Bridge. It's worth it in the end to get a better bridge. Better yet, look into one which has speed loader back ends, load-through-tube back ends, or just go with real name brand bridges and pay the extra twenty or three. In the end, when you're NOT breaking a saddle just before a gig or a recording, you're saving yourself LOTS of time, energy, and even money, in the end.

Here's the anatomy:
A bridge saddle I've removed that has had that "crack" sound, but not yet broken. Notice the fault-lines around the lock block.


Here is the bridge with a freshly-broken saddle. Yes, this is one of mine. It is in a Licensed Floyd Rose bridge that came with a guitar I took in trade.


Here is the bridge with the offending saddle removed, so you can see what it looks like underneath.


Here are a couple of shots of broken saddles so you can see the inside, under the paint, of the pot metal. Real forged saddles don't behave quite this way.


I ended up tightening down the lock blocks hard on all six saddles on this bridge. Four of them broke with very little effort on my part! The bridge had only seen a few years of active use.

Fun, huh? In this case, you get what you pay for. And I had a really cool Jackson hybrid I was making - that I couldn't finish, play, or sell until I bought either saddles or a new bridge (I went with a new bridge - the kind which does not require string ball cutting (ouch!).)

Labels: , , , , , , ,